Wiring, Lights & Towing Mirrors
How to Install a Trailer Wiring Harness
On a vehicle with factory connectors, this is an hour with hand tools and nothing cut or spliced.
Disclosure: we earn a commission if you buy through the Amazon links on this page, at no extra cost to you. Commission never decides a verdict or a ranking position - read our editorial policy and affiliate disclosure.
Short answer
Buy the harness for your exact year, model and trim. Access the factory connectors behind the tail lights or in the rear quarter, plug the harness in, mount the socket, and test every circuit before towing.
The sequence
Installation
Confirm the part matches the vehicle
Year, model, trim and sometimes bumper type. This is where the job is won or lost.
Find the factory connectors
Usually behind a tail light assembly or a trim panel in the rear quarter. The harness instructions will say where for your vehicle.
Unplug and insert the harness
The factory connector unplugs; the harness goes in between. Nothing is cut.
Route the harness cleanly
Away from the exhaust, away from suspension movement, and secured so nothing hangs down. Zip ties, not tape.
Ground the harness properly
To bare metal at a chassis point, not a painted bolt. This is the step that determines whether you have problems later.
Mount the socket
On a bracket, positioned so the plug can be inserted without straining the cable and so a connected trailer does not pull on it in a tight turn.
Add a fused power feed if required
For the 7-way's 12V pin and sometimes the brake output. Fused at the battery, routed and secured along the vehicle.
Test every circuit
Running lights, left turn, right turn, brake, and - with a controller fitted - the brake output. Use a trailer or a test plug.
The post-install test
- Running lights. Trailer markers and tail lamps on with the headlight switch.
- Left and right turn signals independently. Each should flash on its own side only.
- Brake lights. Both sides, with the running lights both on and off.
- Reverse, if wired. Not all installations connect it.
- Electric brakes. With a controller, apply the manual override and confirm the brakes engage.
- 12V feed. Measure at the socket if the trailer needs charge-line power.
Quick picks
Tap any row to jump to the full write-up. How these are chosen - and what we do and do not claim to know - is published in full on our research methodology page.
| # | Product | Best for | Our read | Price |
|---|---|---|---|---|
| 1 | 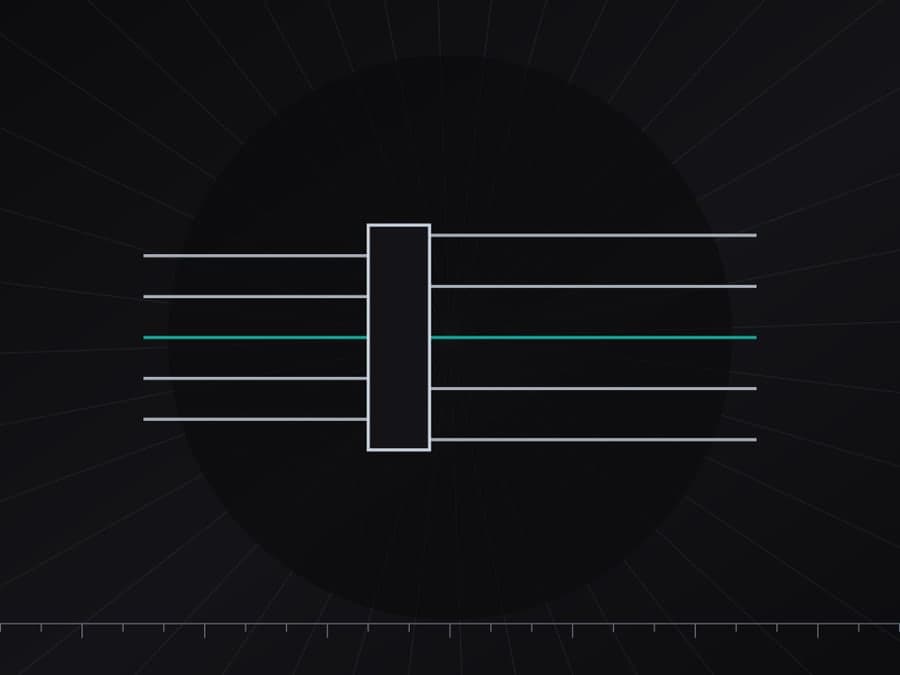 CURT Custom Vehicle-to-Trailer Wiring Harness (T-connector) The right part | Adding trailer wiring without splicing | Vehicle-specific, plugs in | Check price on Amazon #ad Affiliate link - we publish no price; Amazon shows the current one |
| 2 | 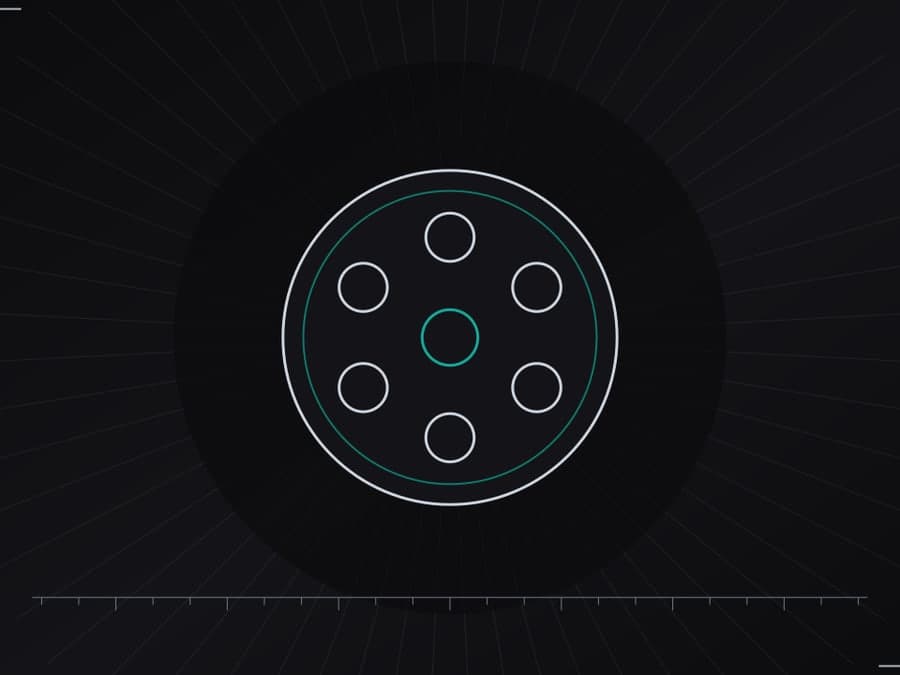 CURT 7-Way RV Blade Connector Plug (trailer side) Trailer side | Replacing a corroded trailer plug | Replace it while you are at it | Check price on Amazon #ad Affiliate link - we publish no price; Amazon shows the current one |
| 3 | 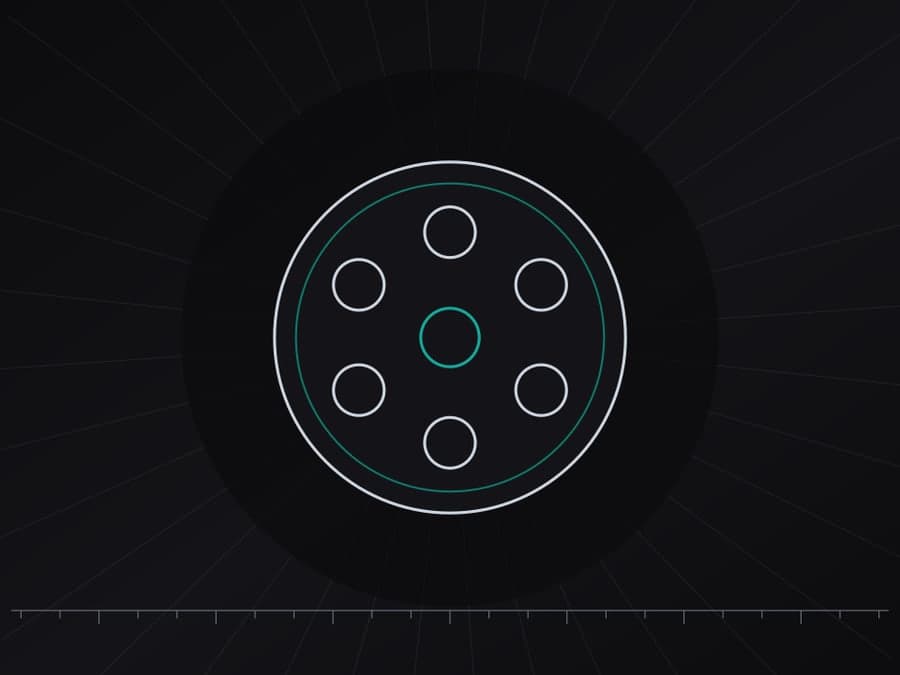 Hopkins 7-Blade to 4-Wire Flat Adapter Keep in the glovebox | Pulling a small trailer with a big truck | For the small trailer you will borrow | Check price on Amazon #ad Affiliate link - we publish no price; Amazon shows the current one |
1. The right part
CURT Custom Vehicle-to-Trailer Wiring Harness (T-connector)
CURT · Best for adding trailer wiring without splicing
A vehicle-specific harness that plugs into existing factory connectors instead of splicing into tail light wiring. Buying the right one for your exact year and model is the whole job; getting that wrong is why people end up cutting wires they did not need to cut.
We have not sourced a full specification table for this model from the manufacturer’s own site at a stable address. Rather than repeat figures we cannot cite, the assessment above is limited to what the design and the maker’s published description genuinely establish.
What works
- Plugs into factory connectors, so nothing is cut and nothing is taped
- Reversible - the vehicle goes back to standard in minutes
- Avoids the voltage problems that come with scotch-lock splices
What does not
- Vehicle-specific, so the part number must match year, model and trim
- Some vehicles need a separate power feed the harness does not supply
Skip it if
Not the part for a trailer needing electric brakes - that is a 7-way install with a brake controller feed, which a lighting harness does not cover.
#ad Affiliate link - we publish no price; Amazon shows the current one
Raw specifications: CURT’s own page. We earn nothing on that link.
2. Trailer side
CURT 7-Way RV Blade Connector Plug (trailer side)
CURT · Best for replacing a corroded trailer plug
The trailer-side plug for a standard 7-way RV blade connection. Replacing a corroded plug is a twenty-minute job and fixes a surprising share of intermittent light and brake faults - far more often than the fault is actually in the truck.
Published specifications
What works
- Cheap, standard part that cures a lot of intermittent faults
- Screw terminals, so no special crimping tool is needed
- Fits the standard 7-way RV pattern used across the US
What does not
- Only the trailer half - a corroded vehicle socket needs the other part
- Short one-year warranty compared with CURT's structural parts
Skip it if
Not the part you need if your trailer uses a 4-way flat - check which connector you actually have before ordering anything.
#ad Affiliate link - we publish no price; Amazon shows the current one
Raw specifications: CURT’s own page. We earn nothing on that link.
3. Keep in the glovebox
Hopkins 7-Blade to 4-Wire Flat Adapter
Hopkins Towing Solutions · Best for pulling a small trailer with a big truck
Lets a truck with a 7-way socket pull a trailer with a 4-way flat plug. It passes lighting through and nothing else - no brakes, no charge line - which is exactly what people misunderstand about adapters.
We have not sourced a full specification table for this model from the manufacturer’s own site at a stable address. Rather than repeat figures we cannot cite, the assessment above is limited to what the design and the maker’s published description genuinely establish.
What works
- Keeps one truck able to tow both connector types
- Costs almost nothing and lives in the glovebox
- No wiring work at either end
What does not
- Carries lighting only - electric brakes and the charge line do not pass through
- Hanging adapters strain the socket if left in permanently
Skip it if
Do not use it to tow a braked trailer - the brake circuit is simply not present in a 4-way, and an adapter cannot invent one.
#ad Affiliate link - we publish no price; Amazon shows the current one
Key takeaways
- The part number matching your vehicle is the whole job.
- Nothing is cut on a proper T-connector installation.
- Ground to bare metal - it determines whether you have faults later.
- Test every circuit before the first tow, not on the road.
How we sourced this
Every figure on this page came from one of the following, each fetched while the page was written. Where a manufacturer or regulator does not publish a number, we say so rather than estimate it.
Common questions
- How long does it take?
- About an hour on a vehicle with accessible factory connectors. Longer if a power feed has to be run from the battery or if trim has to come out.
- Do I need a converter?
- If your vehicle uses separate bulbs for turn and brake, yes - and most vehicle-specific harnesses include one where required.
- Can I install a 7-way myself?
- The lighting part, usually yes. The brake output and 12V feed involve a fused run from the battery and a brake controller install, which is a bigger job but still within reach with care.
More in Wiring, Lights & Towing Mirrors
Nearly every trailer electrical fault is corrosion or a bad ground. Knowing which wire does what turns a roadside mystery into a five-minute check.
Read next
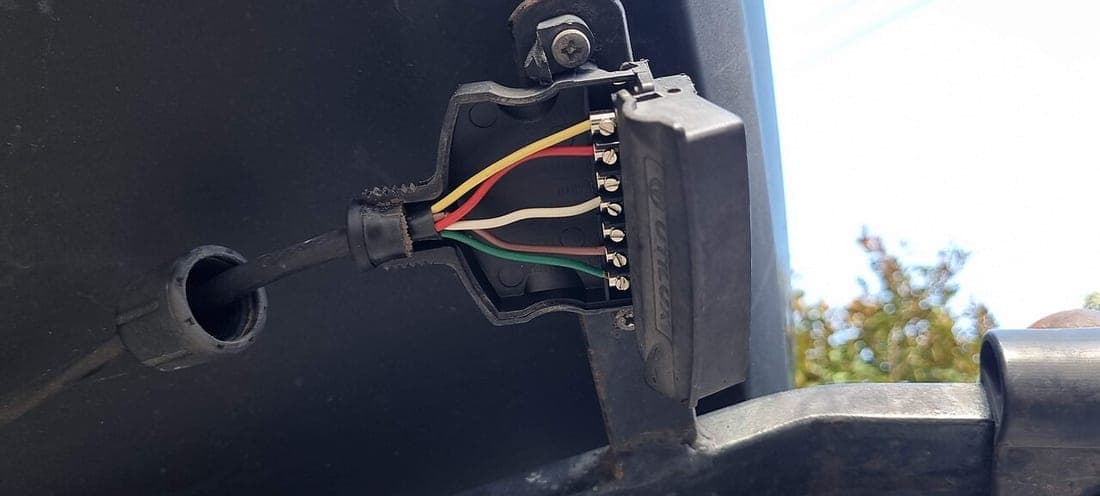
Best wiring harness
Best Wiring Harnesses
Vehicle-specific harnesses, replacement plugs and adapters - what each is for and which part fails first.
Reference
7-Pin Wiring Diagram
The seven circuits and what each one does, the common color convention, and how to confirm it on your own vehicle.
How to
Install a Brake Controller
The installation sequence with the four circuits explained, plus the verification steps that matter before the first tow.
Troubleshooting
Trailer Lights Not Working
An ordered diagnostic for trailer lighting faults, including what specific symptoms tell you about where the problem is.
Found something out of date, or a figure you can source better than we did? Corrections get read first. How we research explains how these pages are put together, and contact is one click away.