Towing Capacity, Tongue Weight & Setup
Hitch Installation: What to Expect
Some vehicles are an hour with hand tools. Others need the exhaust dropped. Here is how to tell which yours is before you commit.
Disclosure: we earn a commission if you buy through the Amazon links on this page, at no extra cost to you. Commission never decides a verdict or a ranking position - read our editorial policy and affiliate disclosure.
Short answer
Many receivers bolt to existing frame holes and take an hour or two with hand tools. Some need the exhaust lowered, a fascia trimmed or a spare tire removed. Read the installation instructions for your specific part before deciding - they are published free.
This page exists because a lot of people searching for hitch installation are looking for a shop near them. We are a publisher with no premises and no installer network, so we are not going to pretend otherwise. What we can do is tell you what the job involves and what to ask, so you can judge a quote rather than accept one.
Read the instructions first - they are free
Hitch manufacturers publish installation instructions as downloads for each part number. They tell you exactly what is required: which bolts, which holes, whether anything has to be removed, and the torque figures. Fifteen minutes with that document answers the DIY question better than any general advice.
| Easy | Harder |
|---|---|
| Existing frame holes, no drilling | Drilling required |
| Nothing to remove | Exhaust must be lowered |
| Open access from below | Fascia or bumper trim must come off |
| Bolts accessible with hand tools | Weld nuts need a fish wire threaded into the frame |
| No wiring in the same job | Wiring harness and socket at the same time |
What a shop install typically includes
- The receiver, fitted and torqued to the manufacturer's figures.
- Trimming or removal of anything that has to come off, and refitting it.
- Wiring, usually quoted separately. Confirm whether it is included, and whether it is lighting-only or a full 7-way.
- Not a ball mount, a ball, or a pin. Those are almost always extra, and sized to your trailer rather than your vehicle.
Questions worth asking
- Which part number are you fitting, and what is its rating?
- Is any drilling or trimming involved on my vehicle?
- Is wiring included, and is it a plug-in harness or spliced?
- Will the 7-way have a 12V feed and a brake output, or lighting only?
- Does the quote include a ball mount and ball, or just the receiver?
- What is the labour time, and is the torque to the manufacturer's spec?
Quick picks
Tap any row to jump to the full write-up. How these are chosen - and what we do and do not claim to know - is published in full on our research methodology page.
| # | Product | Best for | Our read | Price |
|---|---|---|---|---|
| 1 | 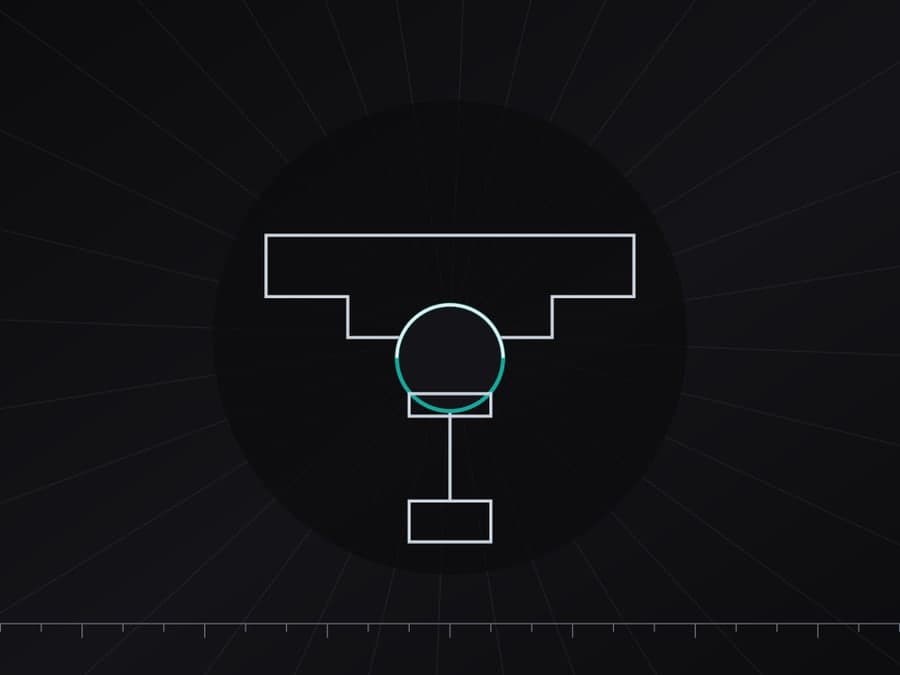 CURT Anti-Rattle Hitch Pin and Shim (2 in receiver) Ask them to fit this too | Killing receiver rattle | Cheap, and nobody includes it | Check price on Amazon #ad Affiliate link - we publish no price; Amazon shows the current one |
| 2 |  CURT Loaded Ball Mount with 2 in Ball (2 in drop, 7,500 lb) What you need afterwards | One trailer at a known height | The install rarely includes a mount | Check price on Amazon #ad Affiliate link - we publish no price; Amazon shows the current one |
| 3 |  CURT Custom Vehicle-to-Trailer Wiring Harness (T-connector) Often a separate job | Adding trailer wiring without splicing | Wiring is usually quoted separately | Check price on Amazon #ad Affiliate link - we publish no price; Amazon shows the current one |
1. Ask them to fit this too
CURT Anti-Rattle Hitch Pin and Shim (2 in receiver)
CURT · Best for killing receiver rattle
A pin plus a wedge shim that takes the slop out of the gap between a 2 in mount and a 2 in receiver. That gap is a manufacturing tolerance, not a fault, and this is the cheapest thing on the whole site that fixes a real, daily annoyance.
Published specifications
What works
- Removes the clunk over expansion joints for very little money
- Fits in a glovebox and transfers between vehicles
- No modification to the receiver or the mount
What does not
- Does nothing about rattle originating at the coupler or the sway bar
- Listed as superseded, so check the current item number
Skip it if
Not the fix if the noise is coming from a loose ball nut or a worn coupler - find the source first, because a shim will just mask it.
#ad Affiliate link - we publish no price; Amazon shows the current one
Raw specifications: CURT’s own page. We earn nothing on that link.
2. What you need afterwards
CURT Loaded Ball Mount with 2 in Ball (2 in drop, 7,500 lb)
CURT · Best for one trailer at a known height
A one-piece mount with the ball already fitted and torqued, rated to 7,500 lb gross and 750 lb tongue with a 2 in drop. Nothing adjusts, which is exactly why nothing rattles or works loose.
Published specifications
What works
- Arrives with the ball fitted, so there is no torque step to get wrong
- One piece means nothing to loosen or rattle
- Light enough to leave in the receiver or throw in a toolbox
What does not
- The 2 in drop is the only drop - measure before you buy
- 7,500 lb ceiling rules out heavier trailers
Skip it if
Useless on a lifted truck, where a 2 in drop will still leave the trailer nose-high and the weight on the rear axle of the trailer.
#ad Affiliate link - we publish no price; Amazon shows the current one
Raw specifications: CURT’s own page. We earn nothing on that link.
3. Often a separate job
CURT Custom Vehicle-to-Trailer Wiring Harness (T-connector)
CURT · Best for adding trailer wiring without splicing
A vehicle-specific harness that plugs into existing factory connectors instead of splicing into tail light wiring. Buying the right one for your exact year and model is the whole job; getting that wrong is why people end up cutting wires they did not need to cut.
We have not sourced a full specification table for this model from the manufacturer’s own site at a stable address. Rather than repeat figures we cannot cite, the assessment above is limited to what the design and the maker’s published description genuinely establish.
What works
- Plugs into factory connectors, so nothing is cut and nothing is taped
- Reversible - the vehicle goes back to standard in minutes
- Avoids the voltage problems that come with scotch-lock splices
What does not
- Vehicle-specific, so the part number must match year, model and trim
- Some vehicles need a separate power feed the harness does not supply
Skip it if
Not the part for a trailer needing electric brakes - that is a 7-way install with a brake controller feed, which a lighting harness does not cover.
#ad Affiliate link - we publish no price; Amazon shows the current one
Raw specifications: CURT’s own page. We earn nothing on that link.
Key takeaways
- The manufacturer's installation instructions answer the DIY question for free.
- Drilling, exhaust removal and fascia trimming are what separate easy from hard.
- Wiring is usually a separate quote - confirm what it covers.
- A fitted receiver still needs a mount, a ball and a pin before you can tow.
How we sourced this
Every figure on this page came from one of the following, each fetched while the page was written. Where a manufacturer or regulator does not publish a number, we say so rather than estimate it.
Common questions
- Can I install a hitch myself?
- On many vehicles, yes - bolt-on receivers using existing frame holes are a straightforward job with hand tools and a torque wrench. Read the specific installation instructions for your part number before deciding.
- How long does it take?
- An hour or two for a simple bolt-on. Longer if the exhaust has to be lowered, trim removed, or holes drilled. Wiring adds to it.
- Does a hitch need to be welded?
- Almost never on a modern vehicle. Bolt-on receivers are the standard approach, and a welded hitch on a unibody vehicle is something to ask serious questions about.
More in Towing Capacity, Tongue Weight & Setup
The number in the brochure is not the number that limits you. The one that does is on a sticker inside your driver's door.
Read next
Best hitch hardware
Best Trailer Hitches
What to buy for a 2 in receiver - mounts, balls, pins and anti-rattle hardware - and how to get the vehicle-specific receiver right.
Reference
Receiver Size by Truck
A method rather than a lookup table: how to establish your receiver's size, pin hole and rating from the vehicle itself.

How to
Install a Wiring Harness
Installing a vehicle-specific T-connector harness, including the power feed question and the full post-install test.

Reference
Hitch Classes Explained
The class system from 1 to 5, the two ratings on every label, and the mistake of inferring capacity from tube size.
Found something out of date, or a figure you can source better than we did? Corrections get read first. How we research explains how these pages are put together, and contact is one click away.